DIY
(also check under Paper and Flowers for more DIY)
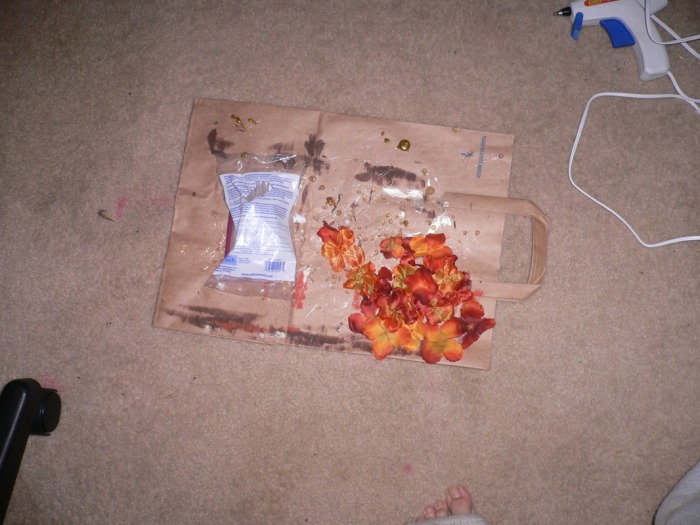
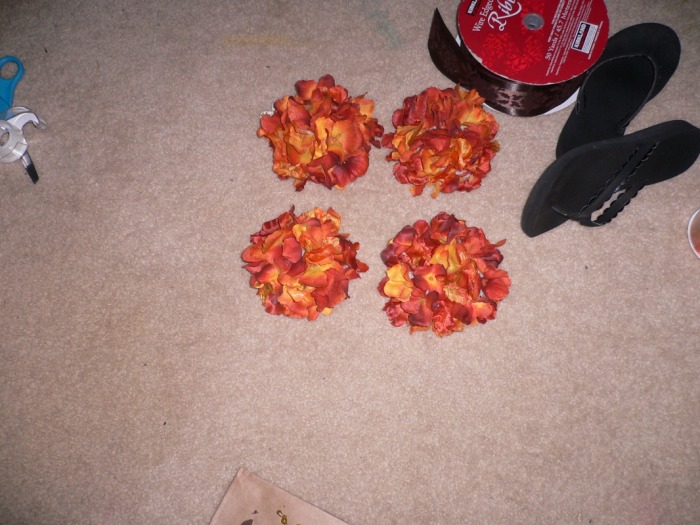
Pew Pomanders
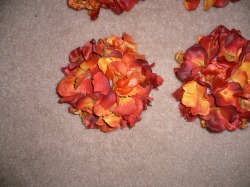
I also ran into some chocolate colored hydrangeas at Michaels the other day and thought it might be cute to alternate the two colors and the ribbons. But they were like $6 a stem and I would need like 3 or 4 stems so I may stick with all orange or wait till I have a coupon!
How To:
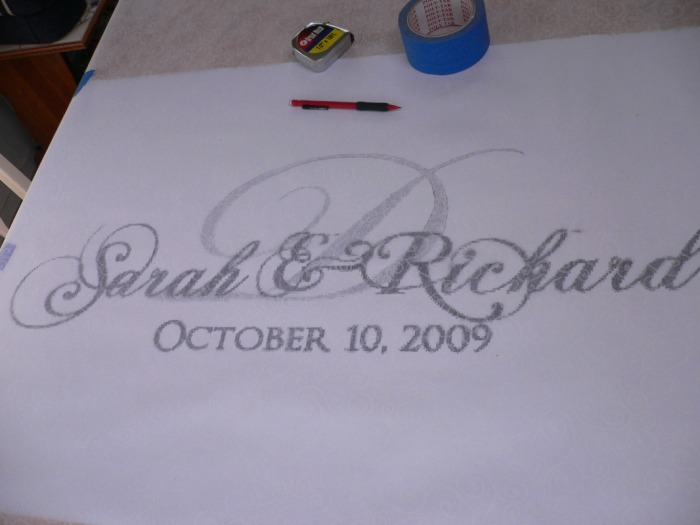
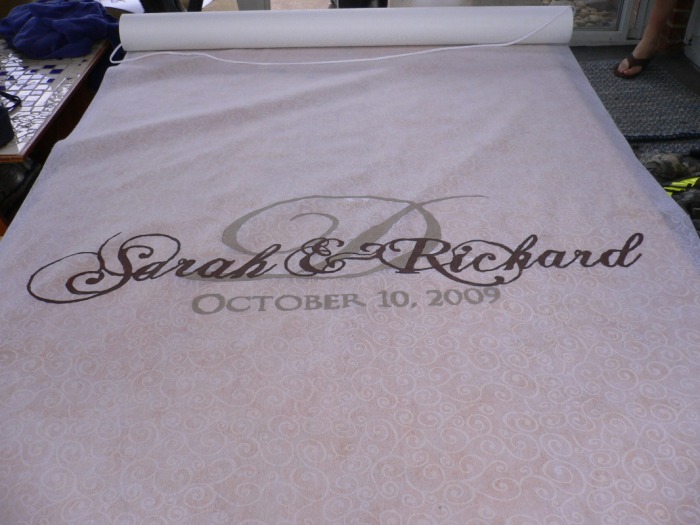
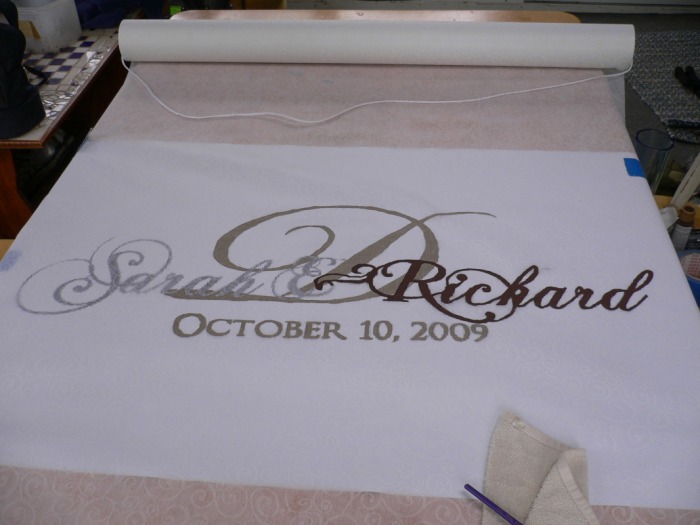
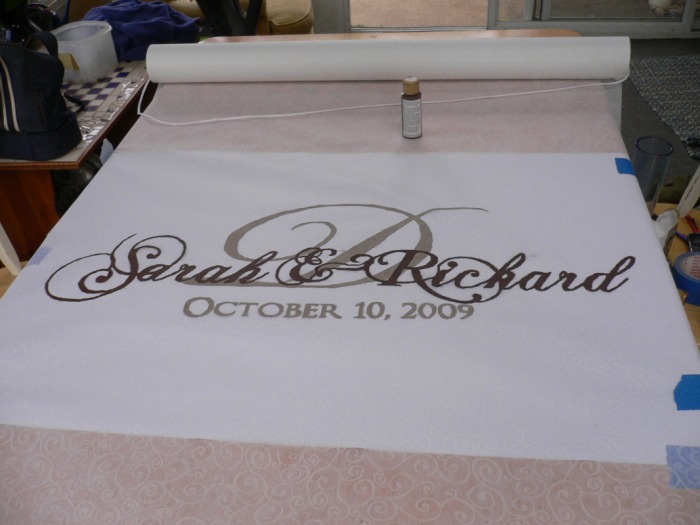
Aisle Runner
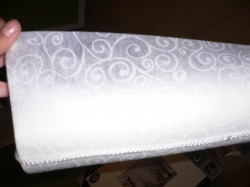
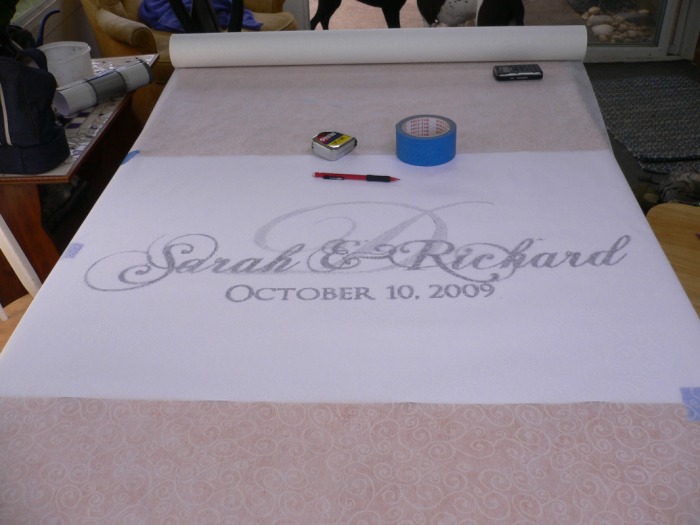
OK- we can use an aisle runner. I had a coupon from Michaels and got a really pretty one with scrollwork for $18!! I will use the monogram below and get it blown up at staples or kinkos. More updates once I get started on this daunting project.
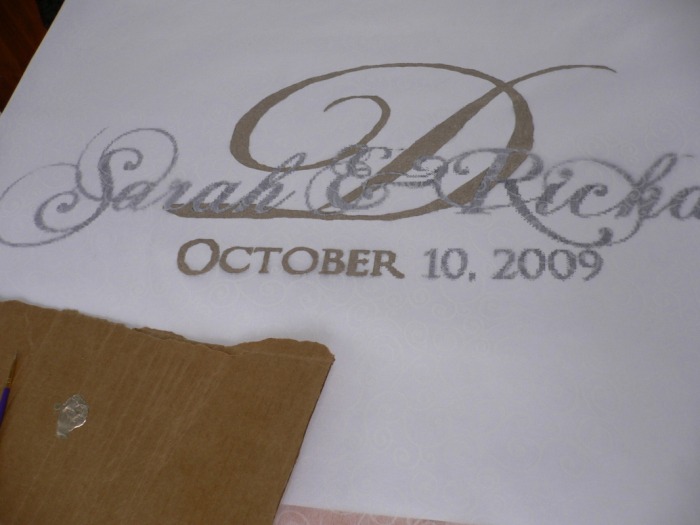
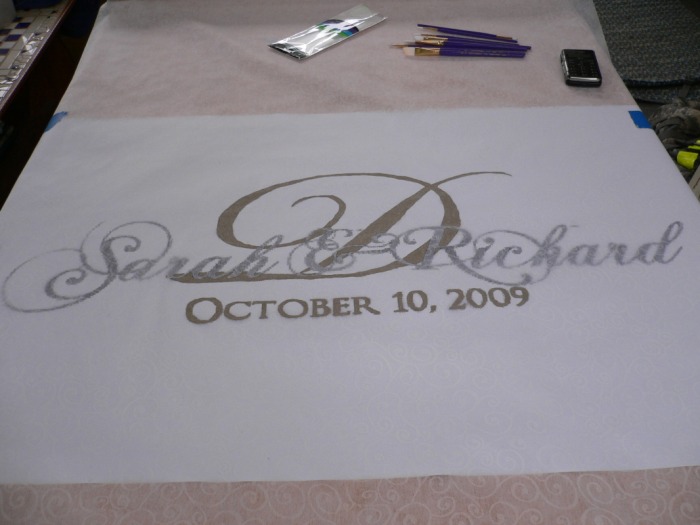
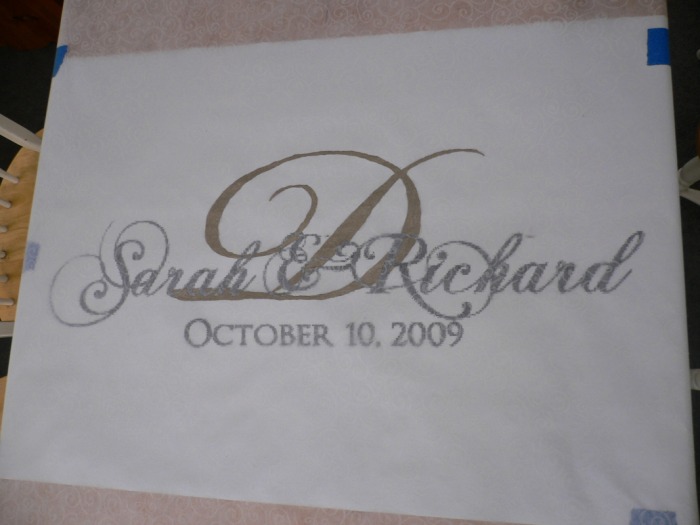
I think I am going to paint the D gold, our names Chocolate Brown, and the date in gold also.
I may also paint a bible verse at the opposite end of the runner. I just don't know which end I will put which at. I will probably use the verse the sermon is on or one from Song of Solomon - there are so many good ones about love.
I think I am going to go with Song of Solomon 3:4 " I have found the one my soul loves" I saw that knottie ~mrm~ used this and I thought it was absulotely stunning.
*7/27* I went after the service today and measured the aisle to figure out where I wanted everything! YAY I am gonna start stenciling this week. I got both the monogram and the words for the verse printed for about $8 at Staples.


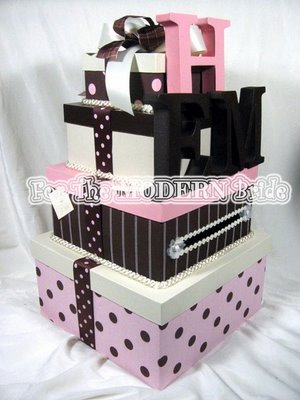
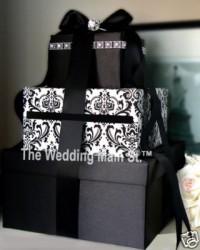
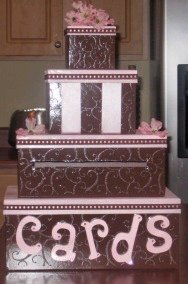
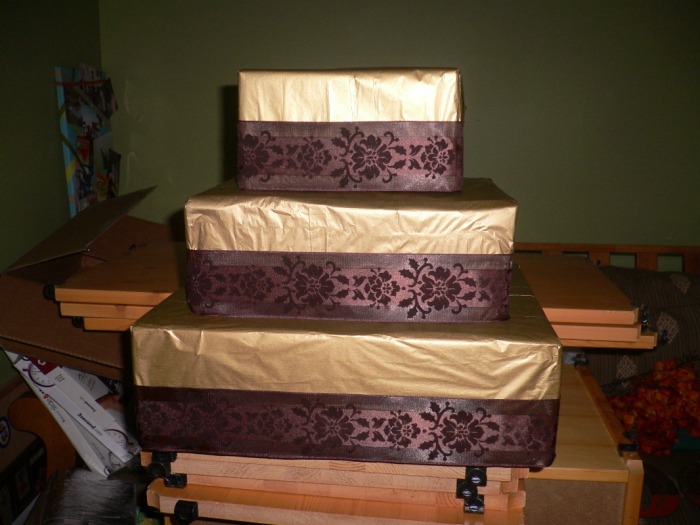
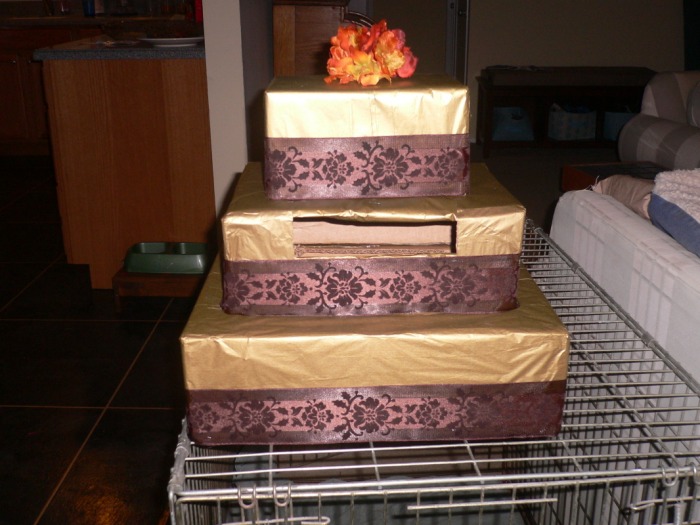
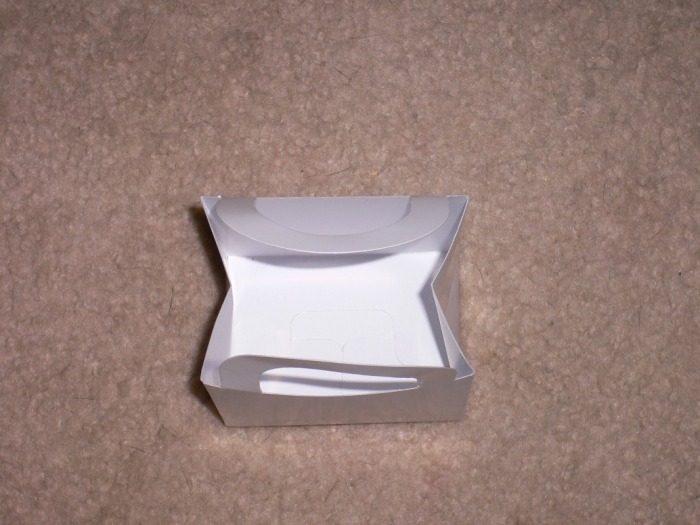
Card Box

It is complete!! My planner came up with the idea to put the flower ontop to incorporate some orance. I LOVE it. Only thing I don't like is that the hole is kind big and you can see cardboard but its ok- its homemade and I think people won't care and Im just being bridezilla.
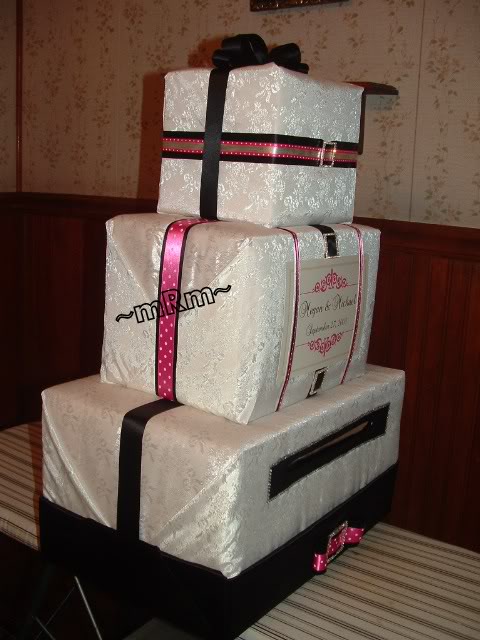
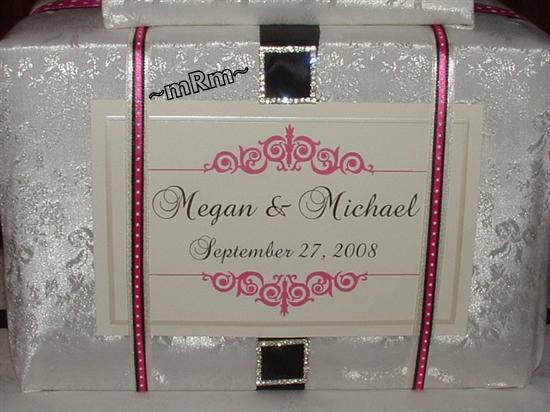
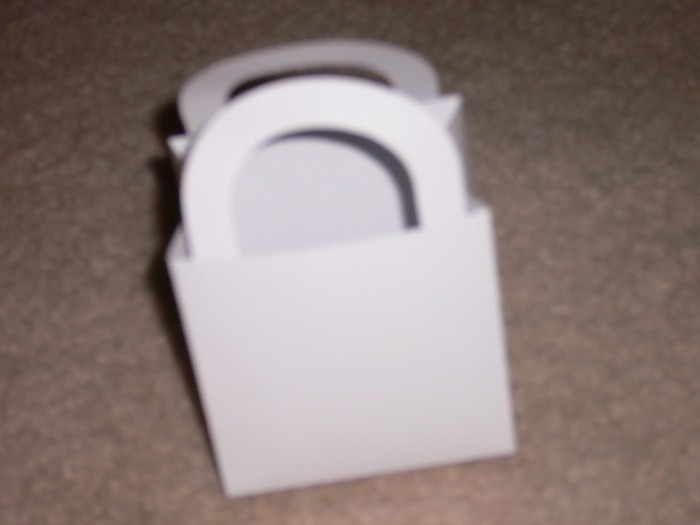
Below are some of my insprirations.
Last three photos of the set are from Knottie ~mRm~

How To:
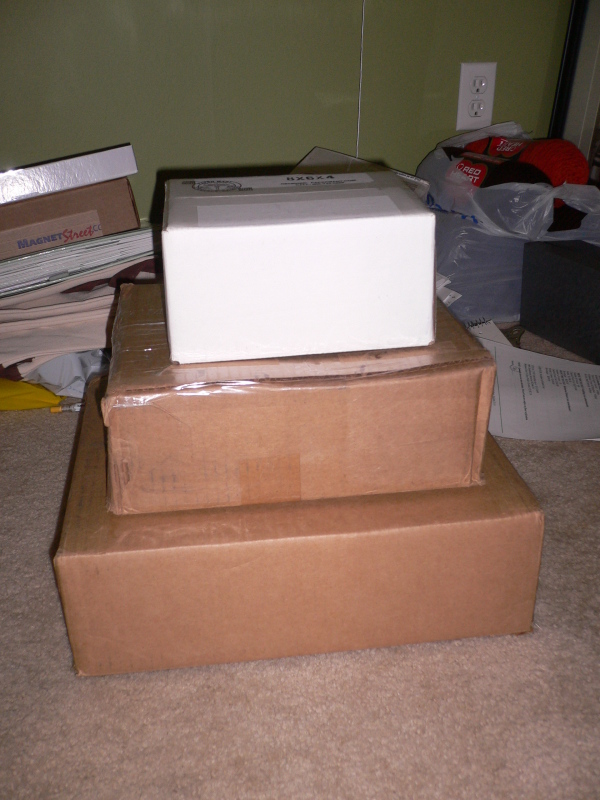
Here is what you need:
3-4 stacking boxes round or square
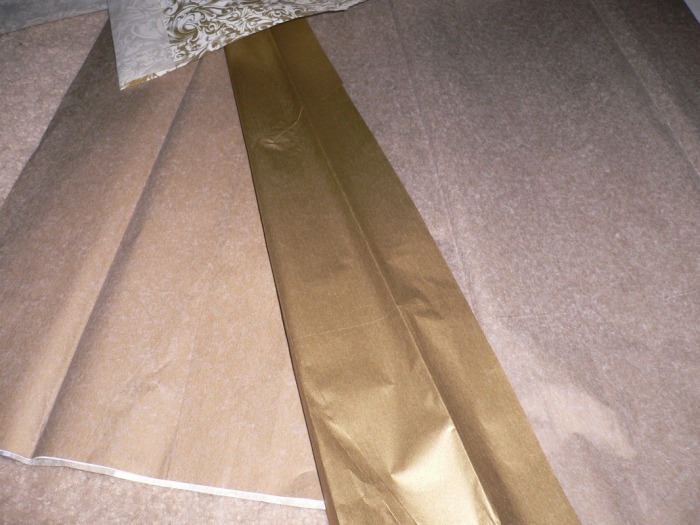
Tissue paper or wrapping paper of your choice
Hot glue gun or spray adhesive
Ribbon of your choice
X-acto knife ( sp?)
1. Collect stackable boxes- or buy then if you don't shop online alot like my Fiance
2.Decide on wrapping paper, tissue paper(mine was VERY thick and opaque).
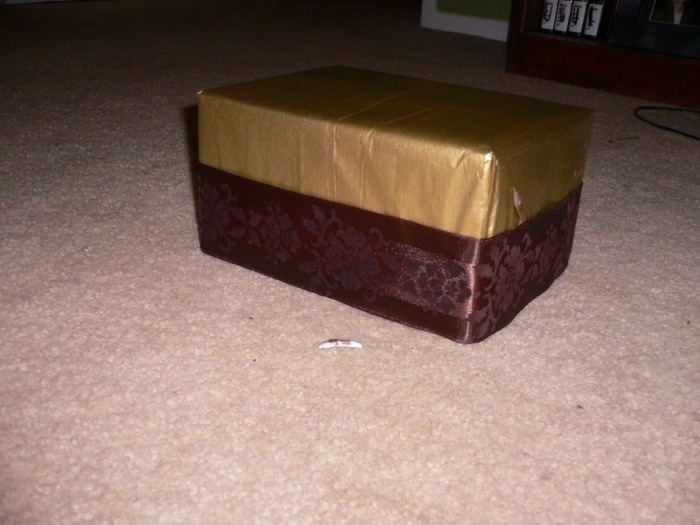
3. Leave top box whole- Wrap like a present using a hot glue gun ( I used this) or spray adhesive to hold where you would normally tape a present.
4. Cut the bottom out of the 2nd box down. This is the box where the hole for the cards will go ( you can just as easily do it on the top box if its big enough across- mine wasn't)
5. Wrap siliarly to a present but fold the paper under the cut edge or leave the edge rough at the bottom of the box- it will be covered by the ribbon eventually.
6. Tape the bottom of the biggest box with packing tape in a way that you can cut it open later ( aka- don't roll the tape way on the sides just across the bottom)
7. Wrap this just like a big present but don't worry if the paper doesn't go over to the bottom. No one will see it.
8. Hot glue ribbon around the bottom edge of each box. I put my seam on the corner of the box instead of the back - its up to you.
9. Set box 2 ontop of box 1 and LIGHTLY trace the outline ontop
10. Cut out a hole SLIGHTLY smaller then the outline of box 2 on the top of box 3. (this way cards can fall through to the bottom). Use hot glue to hold down any wrapping paper that tries to flap up.
11. Lightly trace and cut out a hole on the front of box
12. MOST IMPORTANT- don't burn yourself with hot glue- it sucks!!

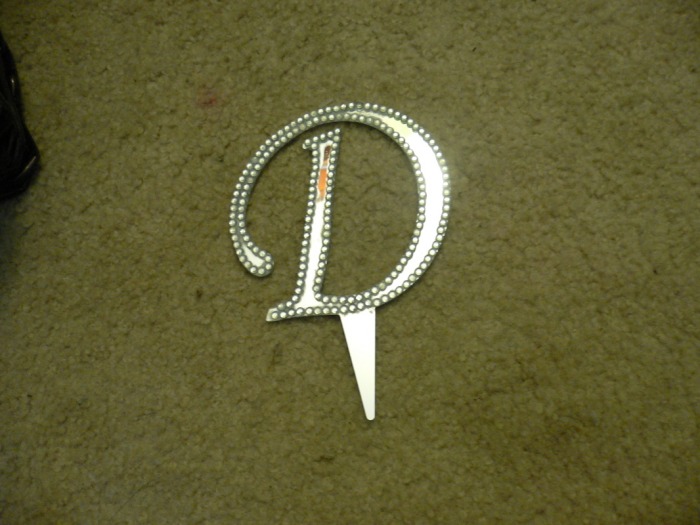
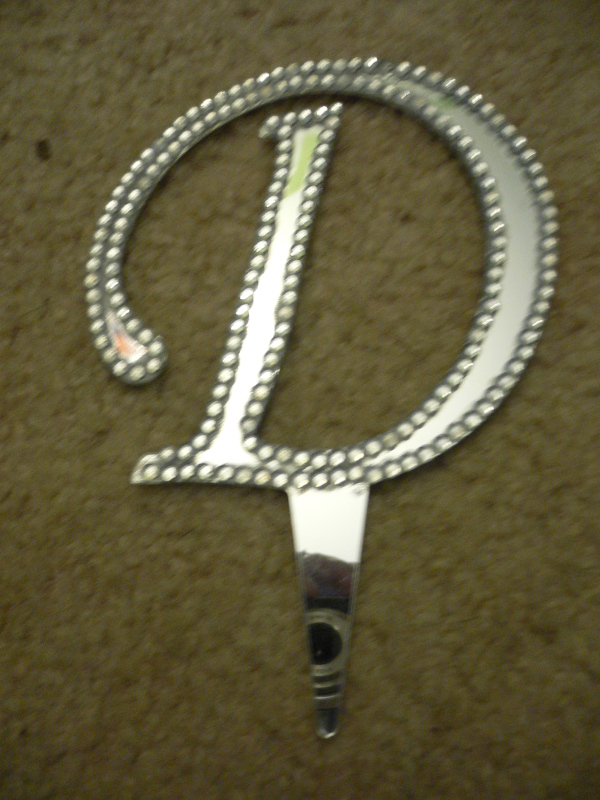
Monogrammed Cake Topper

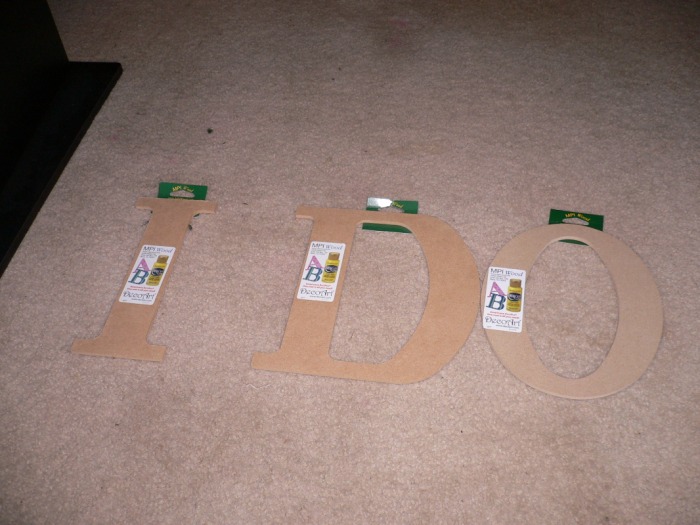
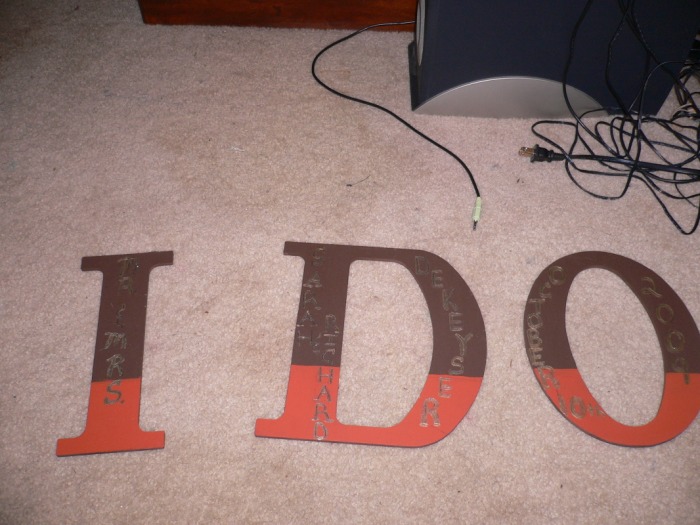
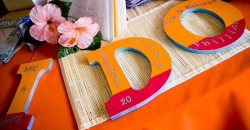
"I DO" Cake Table Letters
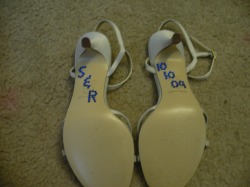
Shoe Monogram in Blue
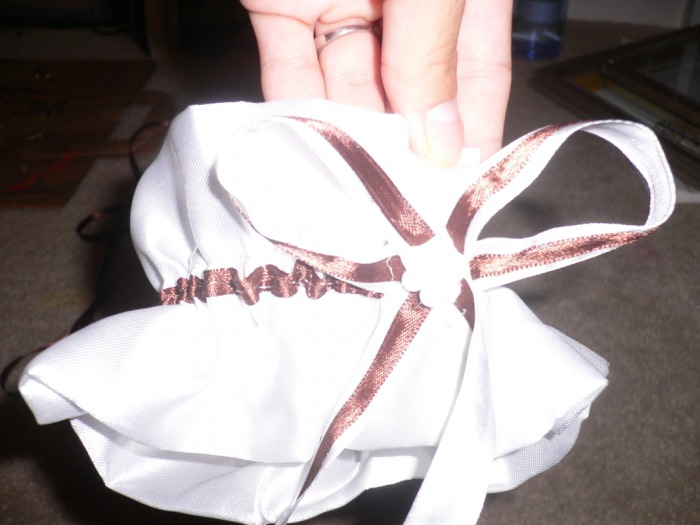
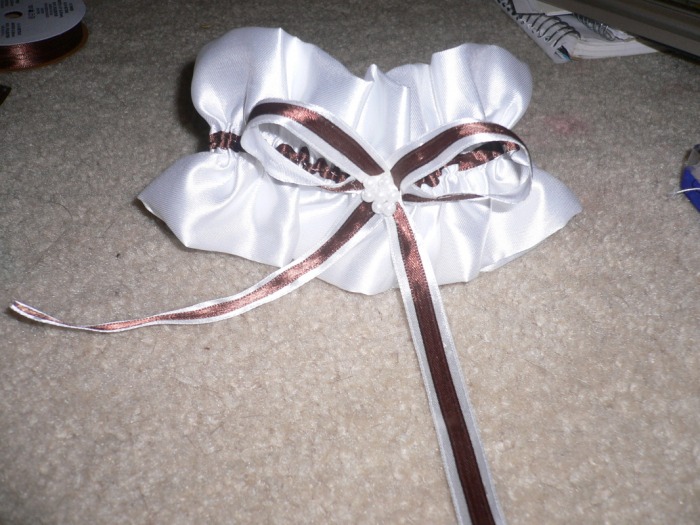
SEMI DIY GARTER

SEMI DIY Ringbearer's Pillow
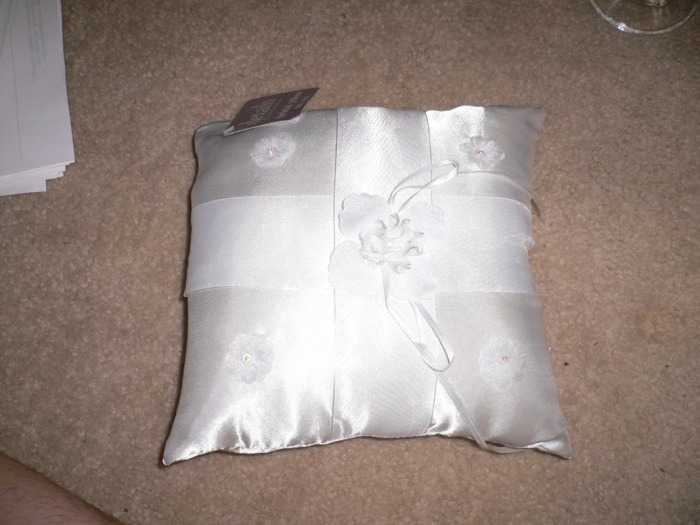
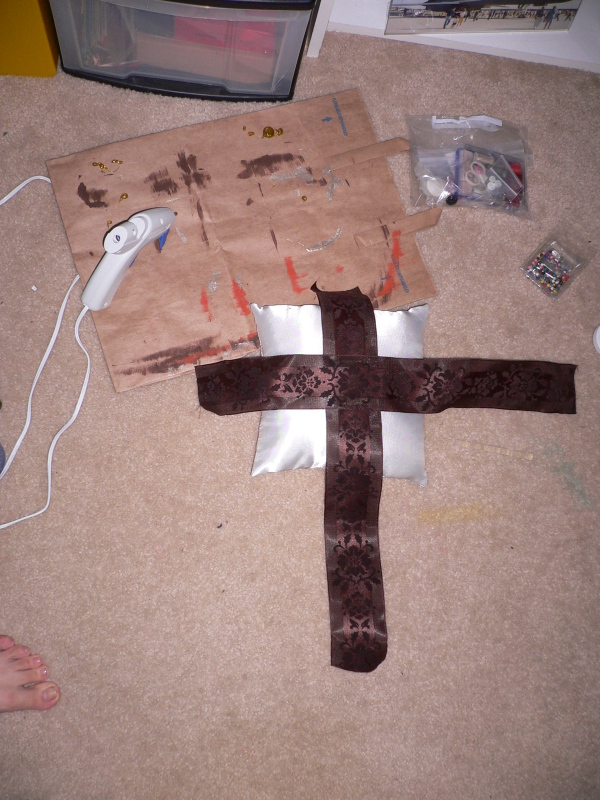
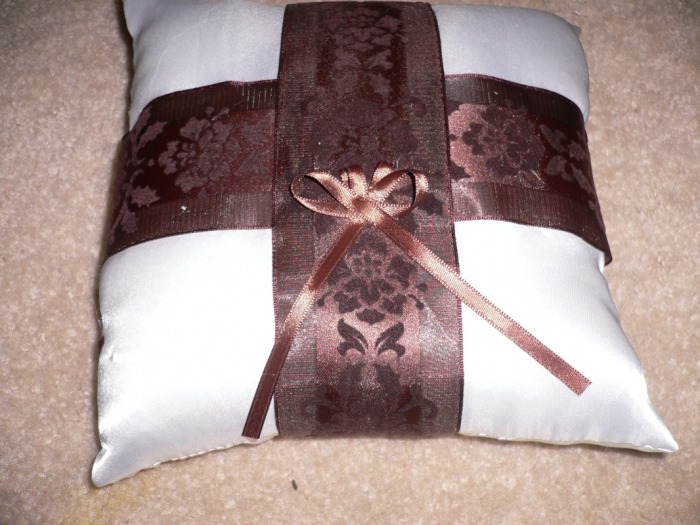
So here is what you need to do this:
ugly RB pillow of your choice( Dollar store has lots)
hot glue gun
glue
ribbon of your choice (both small and large)
scissors
1. Rip CAREFULLY the adornments of the unattractive pillow off.
2. Flip the pillow over to the unadorned side
3. I then measure the pillow from seam to seam and marked the center with a small pen dot.
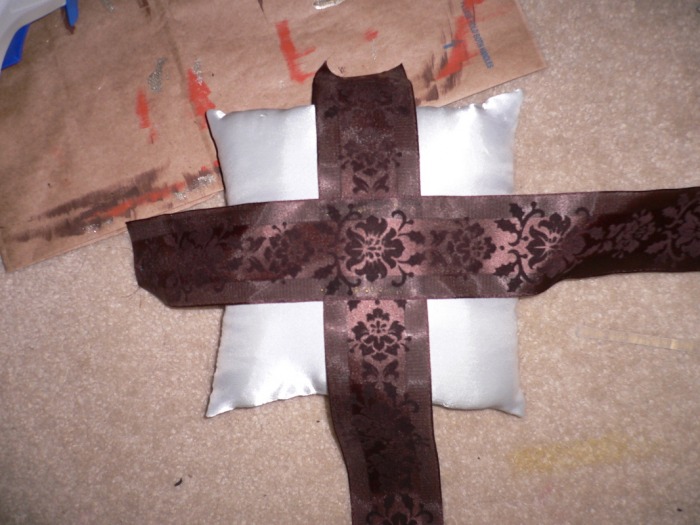
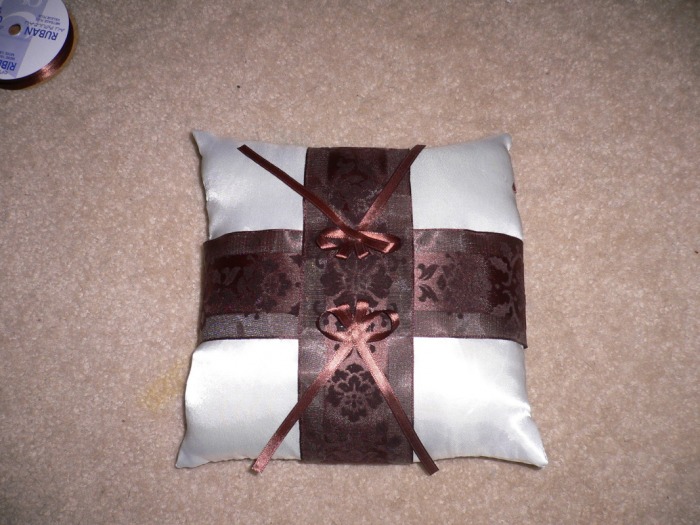
4. My ribbon had a design so I lined it up on the pillow and then glued just the two pieces of ribbon together at the center.
5. Glue center of ribbon cross to center of pillow. DO NOT USE ALOT OF GLUE it will seep through the ribbon
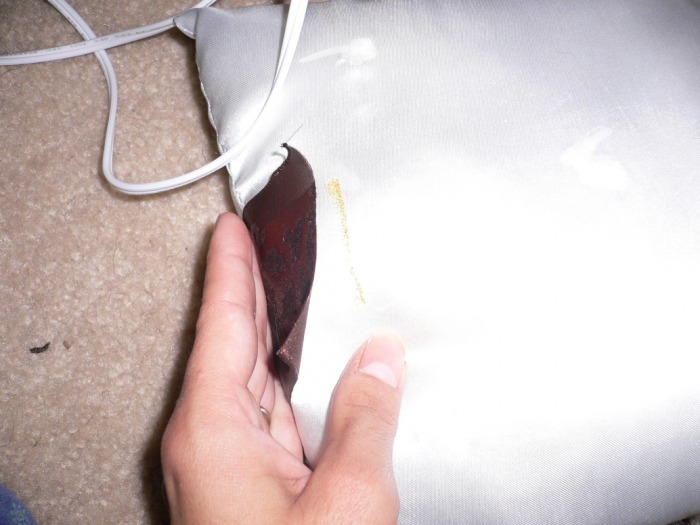
6. Fold cross over to backside of pillow and hot glue one end down.
7. Fold the other end to make a clean like and hot glue that down as well.
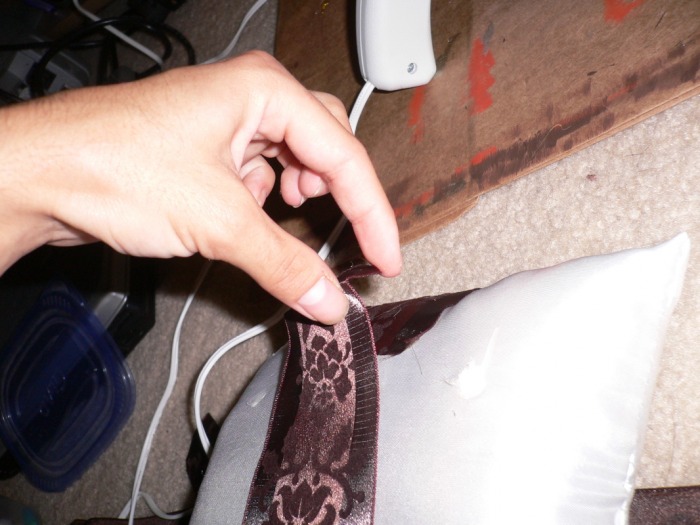
8. Repeat with other piece of ribbon.
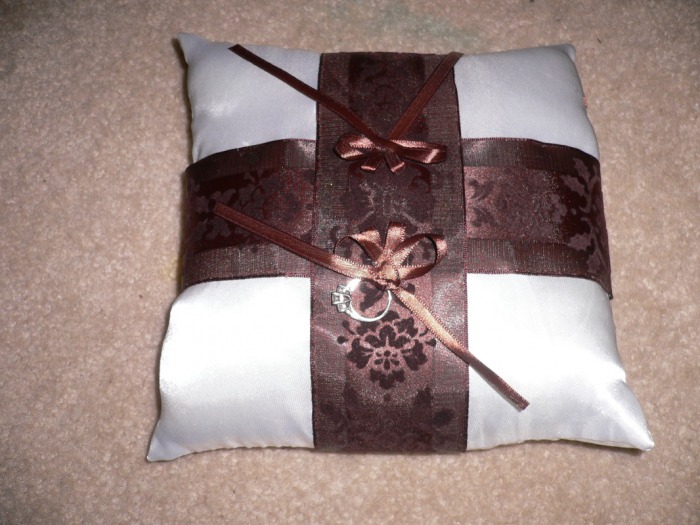
9. Make two matching bows to hold the rings!!
Bathroom Baskets
Lint Rollers
Excederin
Advil
Alieve
Tide to Go pens
Small first aid kit to include bandaids, neosporin
I will also put: mints, floss,gum, lotion, those mini toothbrush to go things and i dunno what else. and for womens tampons, hair spray and maybe deoderant
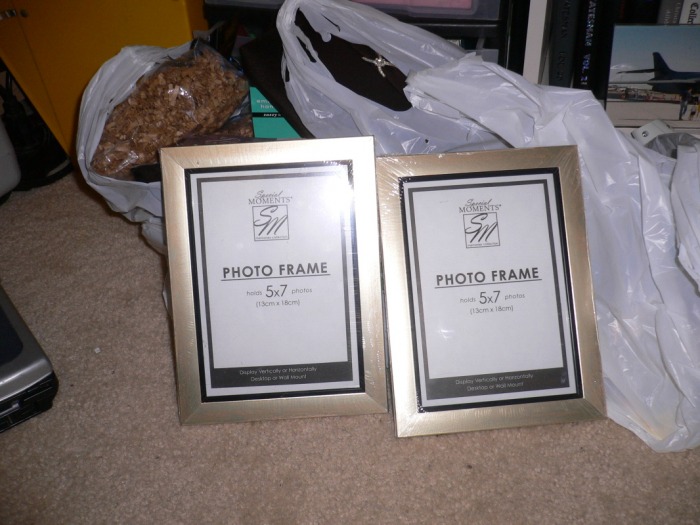
And I found this poem online to print out and put in the frames below.
So happy you're here to share in our special day!!!
But should something happen to go astray,
Please help yourself to the contents within,
Hair spray, hand lotion, gum and even aspirin,
Use only what you need and leave the rest,
It may be useful to another guest.
So repair the damage that may have been done,
Then hurry on back and join the fun!!!
Compliments of the Newlyweds
Guest Favors
Also my mom makes amazing homemade chocolates and already bought fall leaf molds right after I got engaged. I have some favor boxes I got at the dollar store and I may have my mom go ahead and make them and set them at each table or use them as the escort cards, having each persons name on the box or on a tag attatched to the box.
Unity Candle
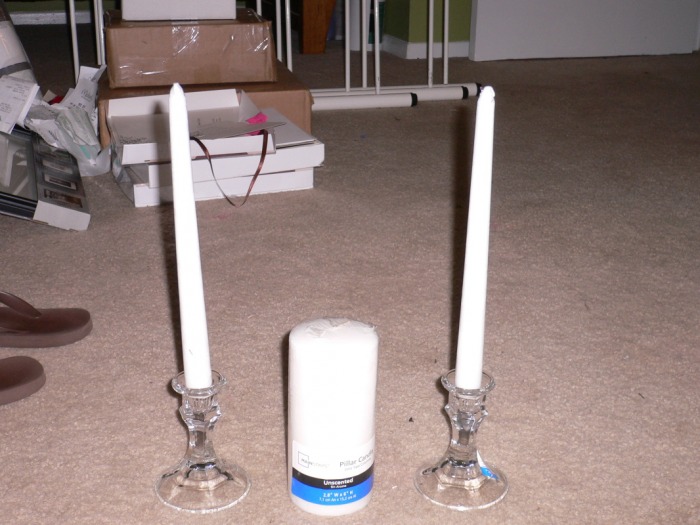
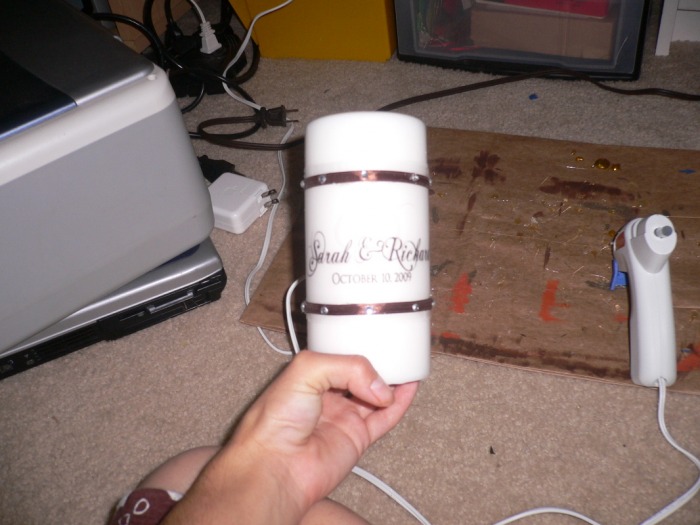
how to:
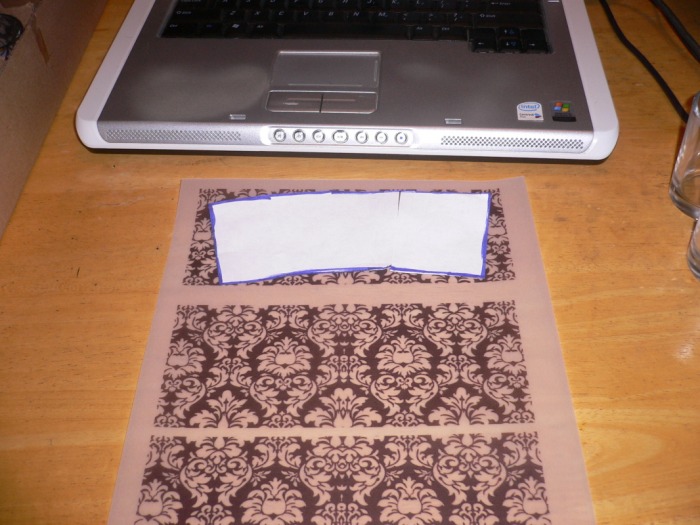
I pasted my monogram into a word document and then I made sure I was viewing the document at 100% so that I could measure it on the screen ( didn't want to waste vellum printing it 15 times)
I made my mongram 4inches wide and 2 inches tall that way it could be seen completely from the front.
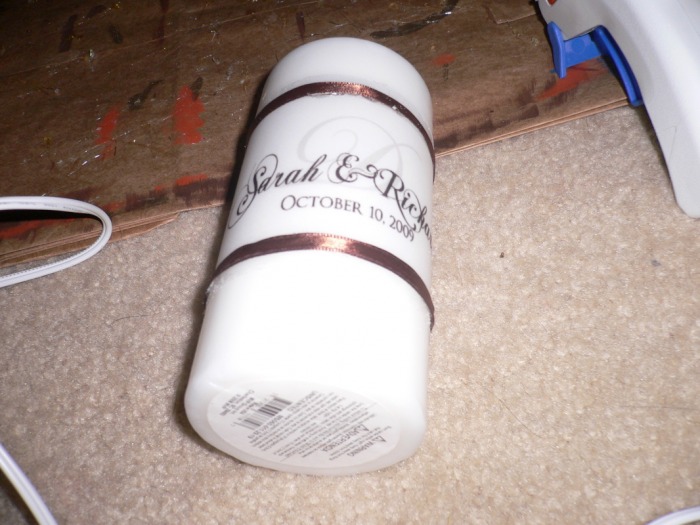
Then I just printed it on the vellum.
I cut the vellum off of the page on a strip and wrapped it around the candle.
I originally used double sided tape but it started peeling a few days later so I went back and Hot glued ( a very small amount of glue) the vellum and ribbon on there and then added some Rhinestones.
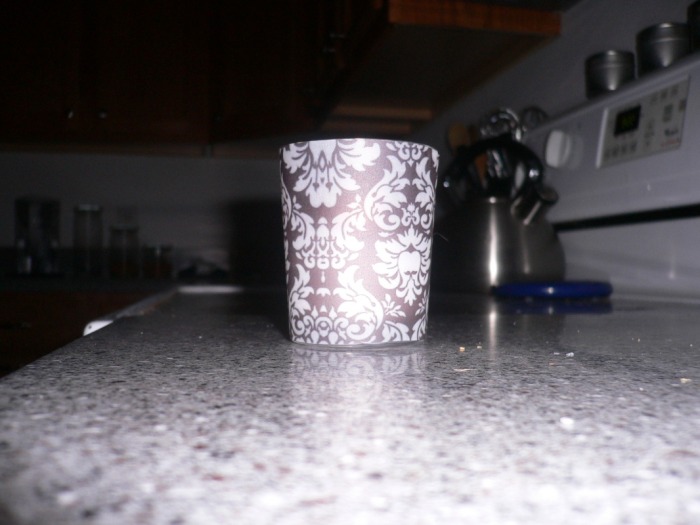
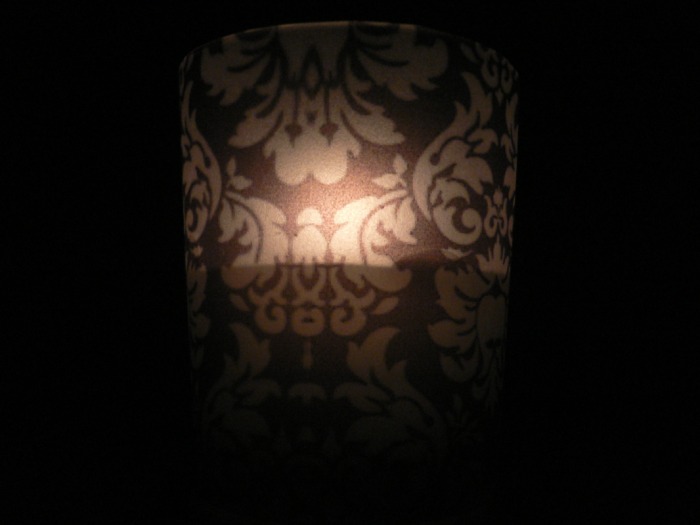
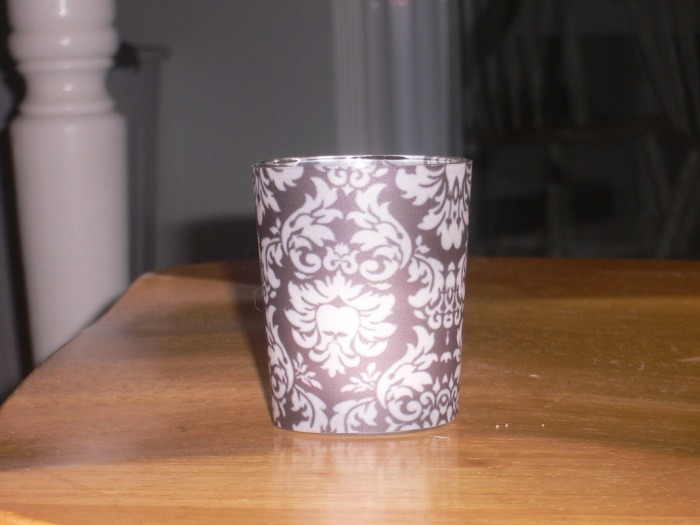
Damask Vellum Votive Wraps
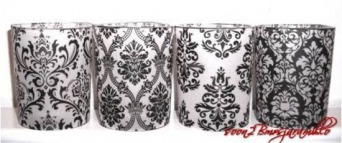
http://www.projectwedding.com/wiki/show/diy-wedding-challenge-damask-votive-holder-covers


Damask Table Number Holders
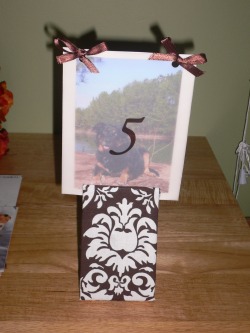
How To :
I cut carboard boxes up for the holders- don't use anything lighter or it won't hold the weight of the picture.
I did mine 6.5 cm wide and 30 cm long. You can change that a little but, its just what fit my design on the damask but I wouldn't go much skinnier or it looks funny and doesn't hold the picture well.
After I cut them all out of the cardboard boxes(used combo of box cutter and scissors) I creased them with a ruler into the triangle shape. With the bottom being approx 8 cm wide and each side 11 cm.
Then I used washers from the hardware store to weight down the holder or else it would be top heavy. I used 3 of the 1/4 in thick 1 1/4 wide washers per holder. I centered them on the bottom of the triangle and hot glued them on.
Then I put the cardboard on the fabric and cut out enough around the edges to be able to fold it over and have a clean edge- like wrapping a present really. Then I just folded it like a present and hot glued the fabric down as I went along doing the sides first and the ends last. ( you could use regular glue- but its hard to wait for it to dry)
Then I folded it into the triange and situated where I want the picture then glued the pic inbetween the top of the triangle with hot glue.
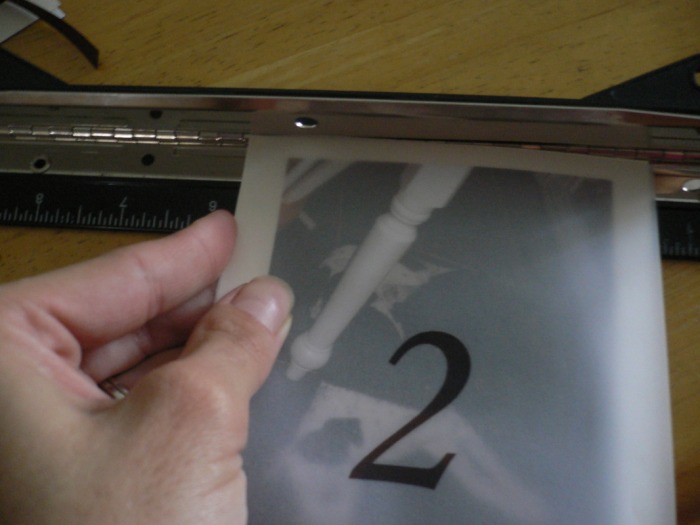
* tip* if you used the same vellum type overlay- glue the vellum layer to the picture first or it will flop away as the holder will only adhere to the vellum layer not the whole table number.

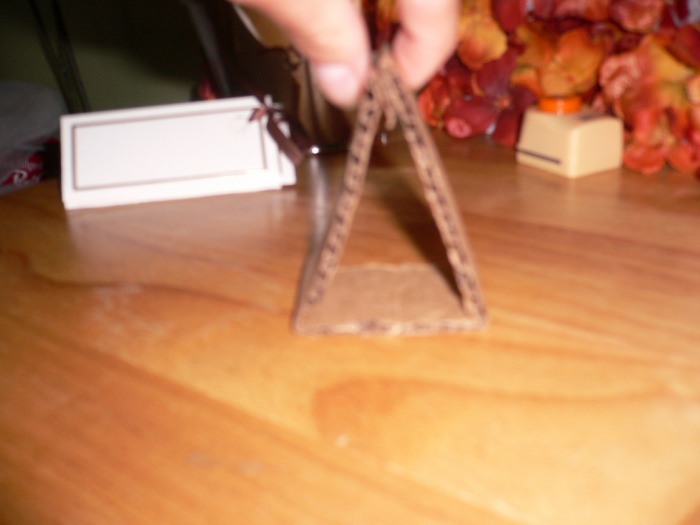
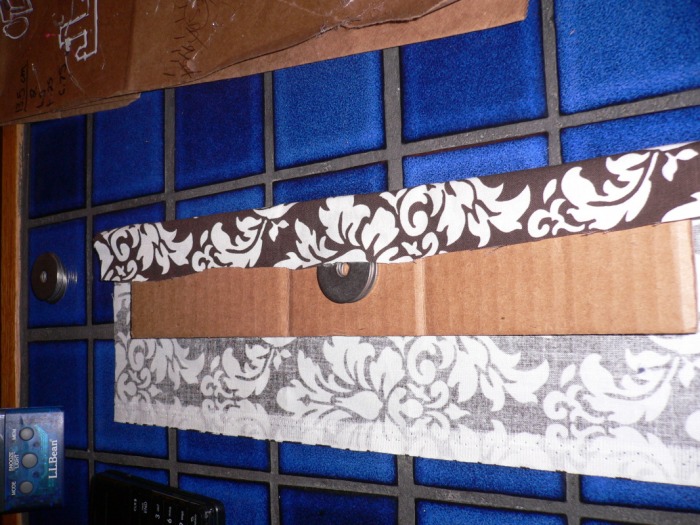
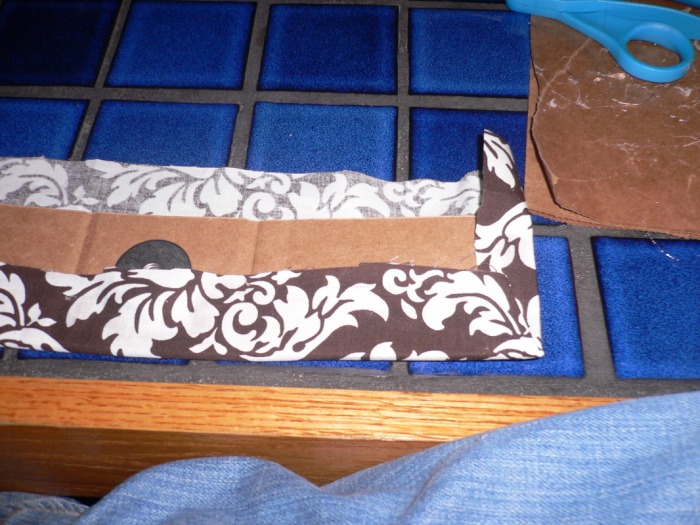
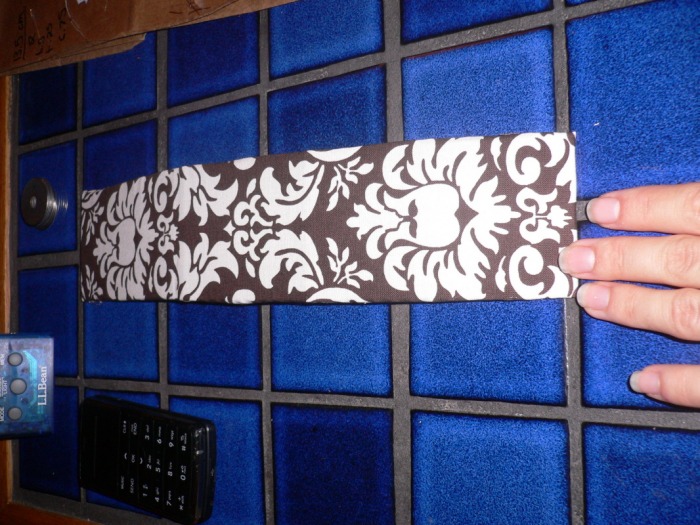
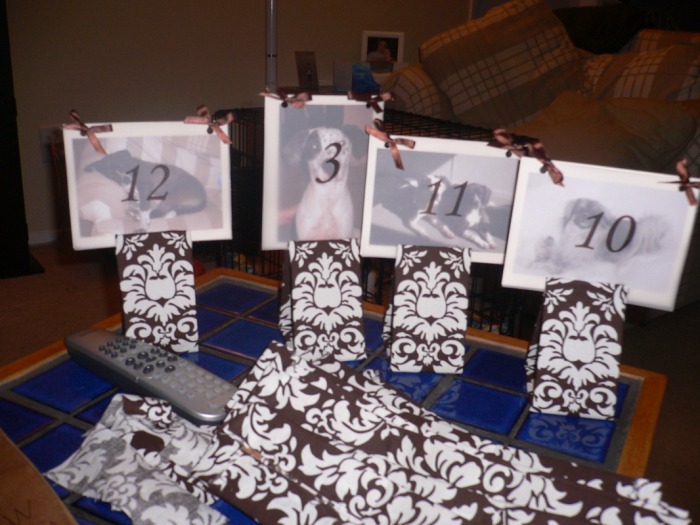
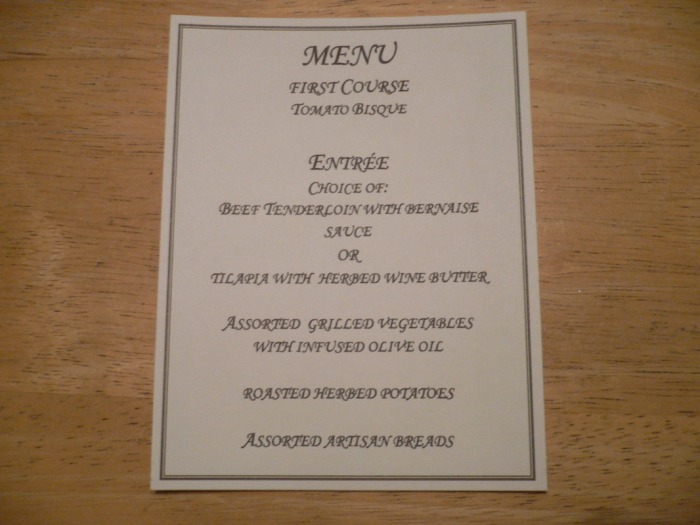
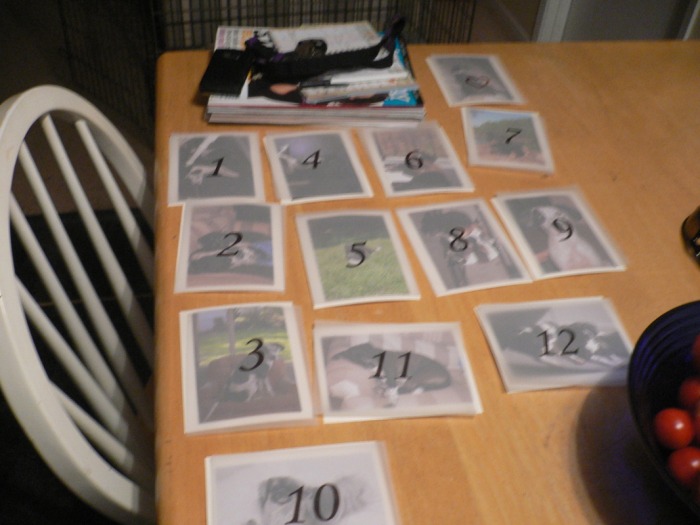
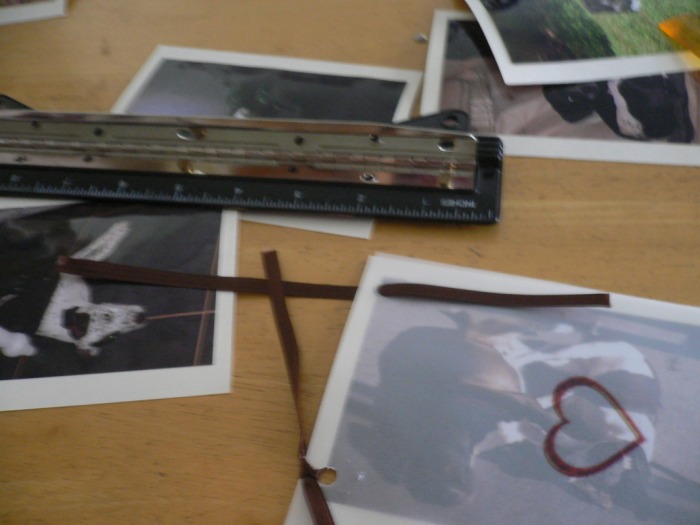
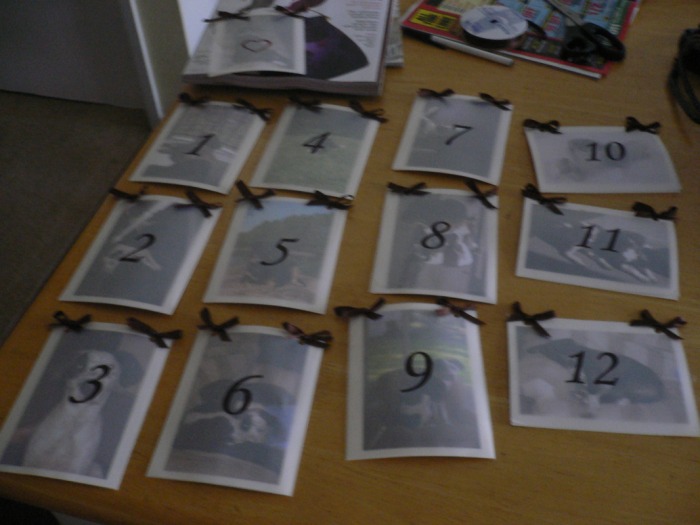
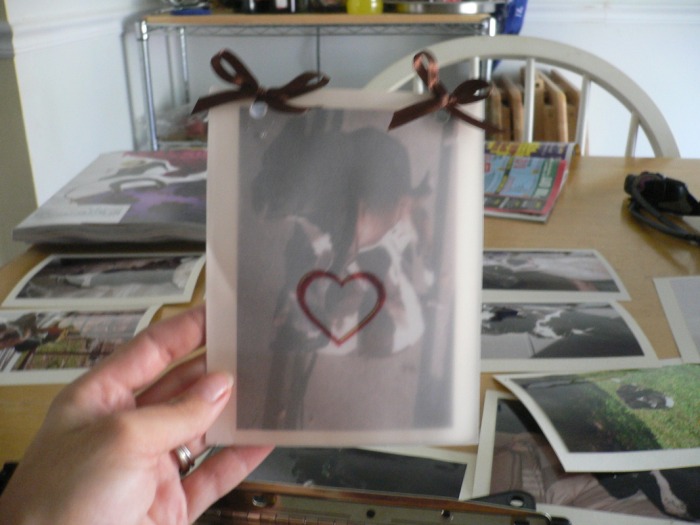
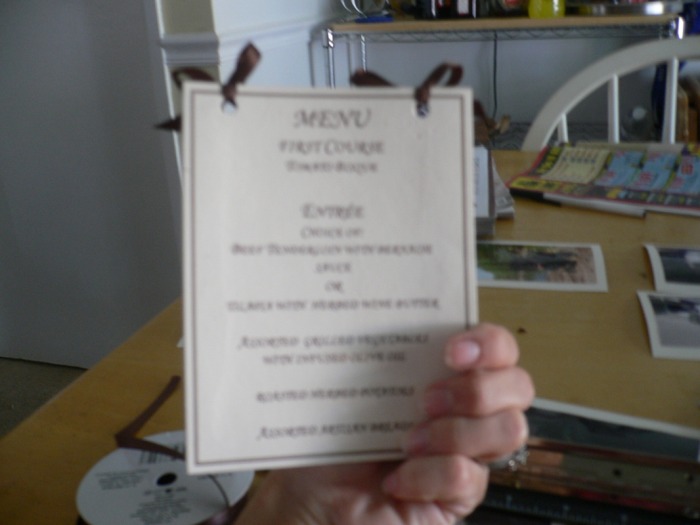
Table Numbers/Menu
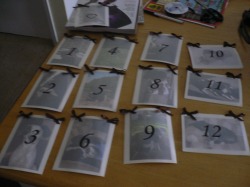
This was really easy to do:
I printed the menus on the cardstock.
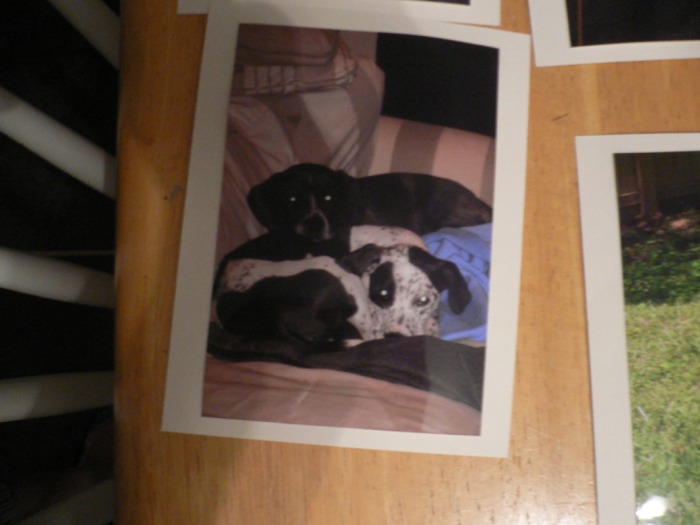
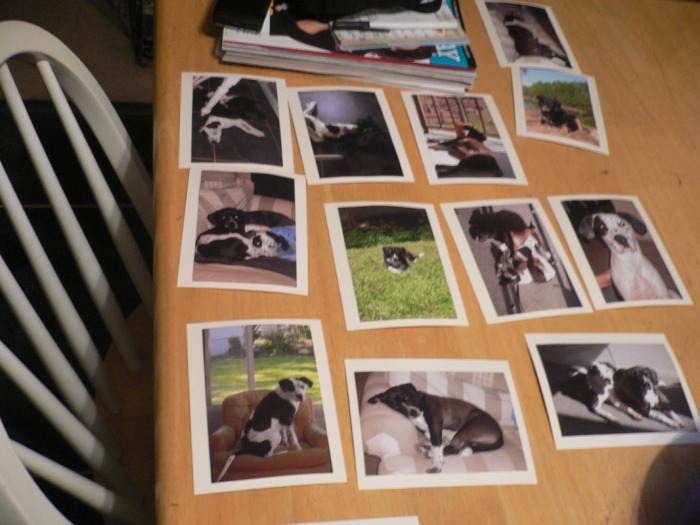
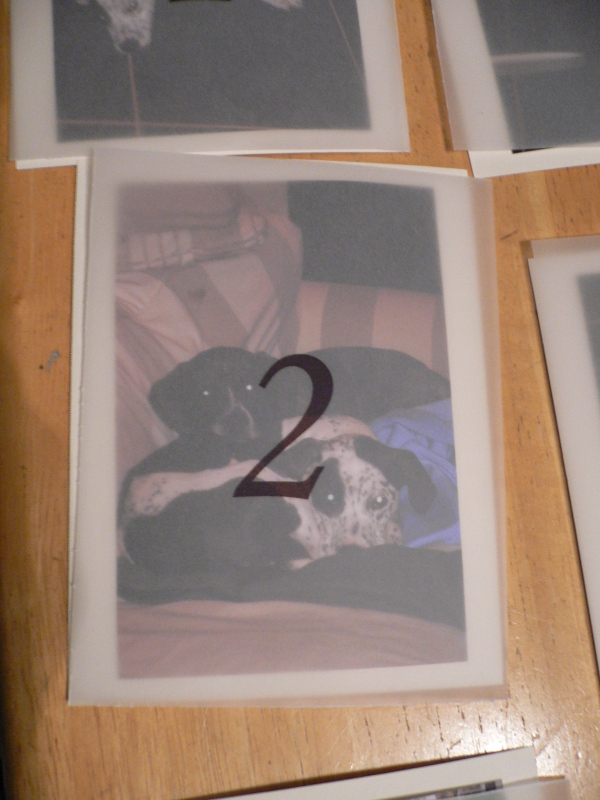
I had 3x5 pictures printed (had to do at a local shop- hard to find 3x5s online ).
I glued the pictures on the center of the back of the menu
I printed off the numbers on vellum.
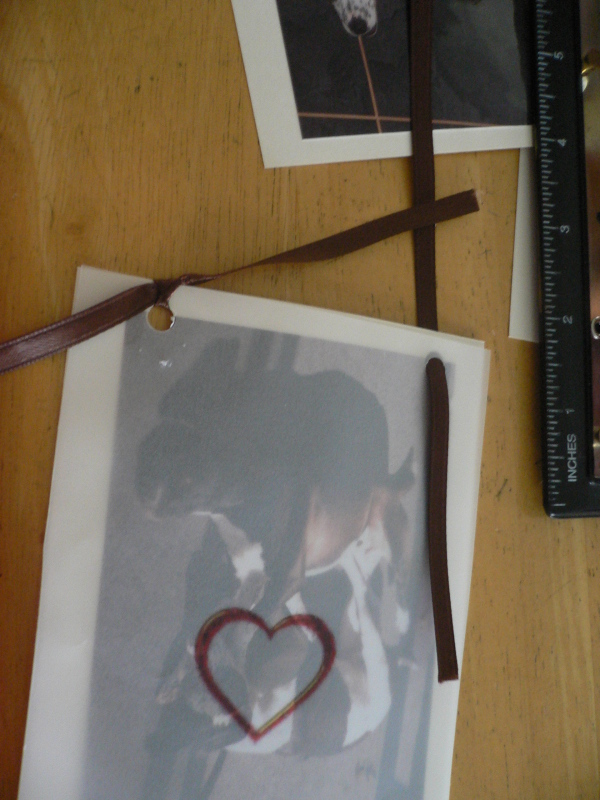
I used a hole punch to punch the tops of the layers
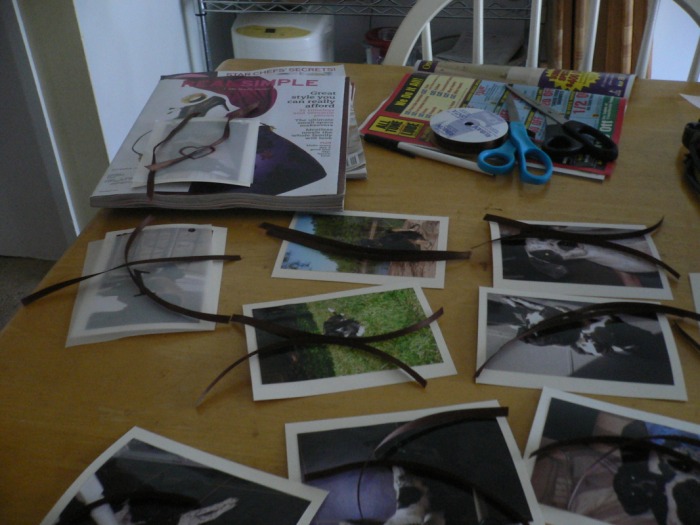
Threaded brown ribbon through the holes and tied bows!!
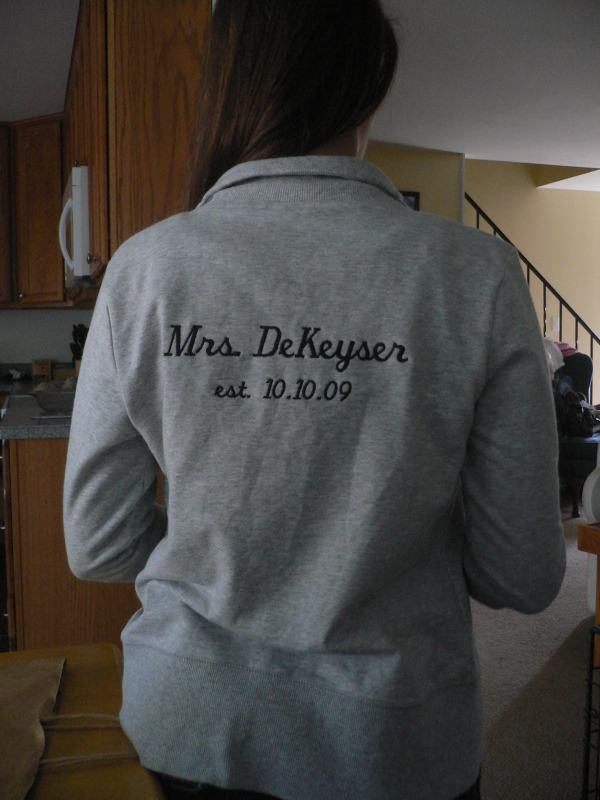
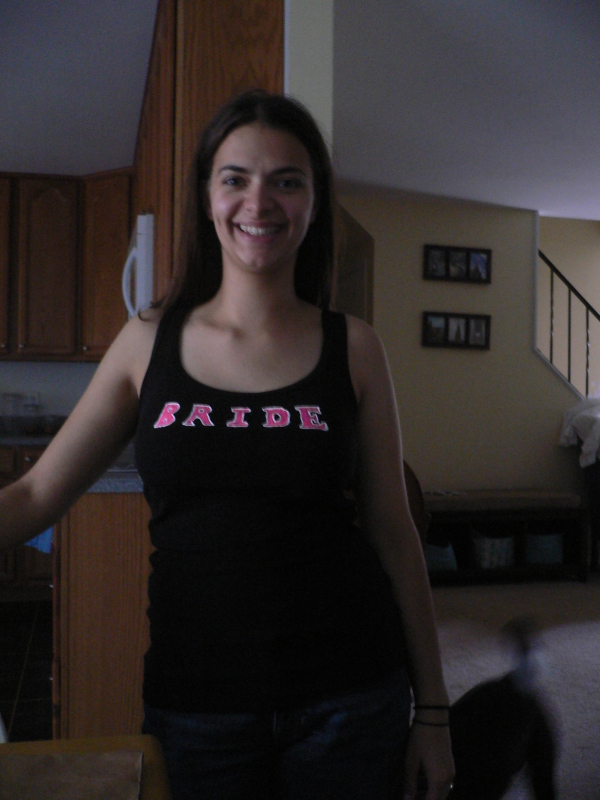
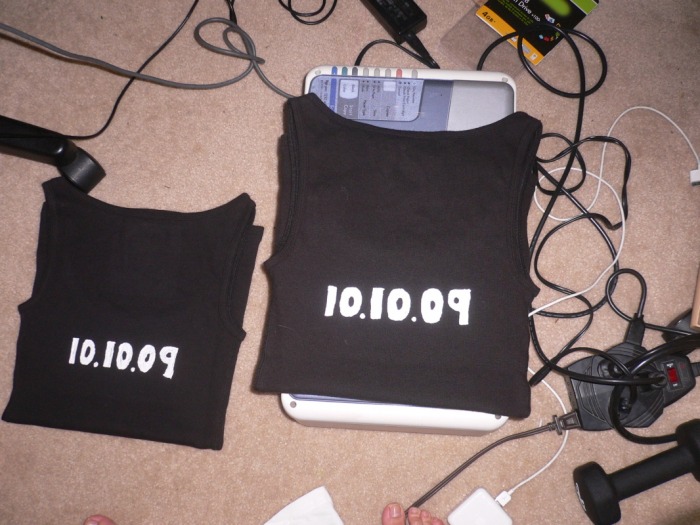
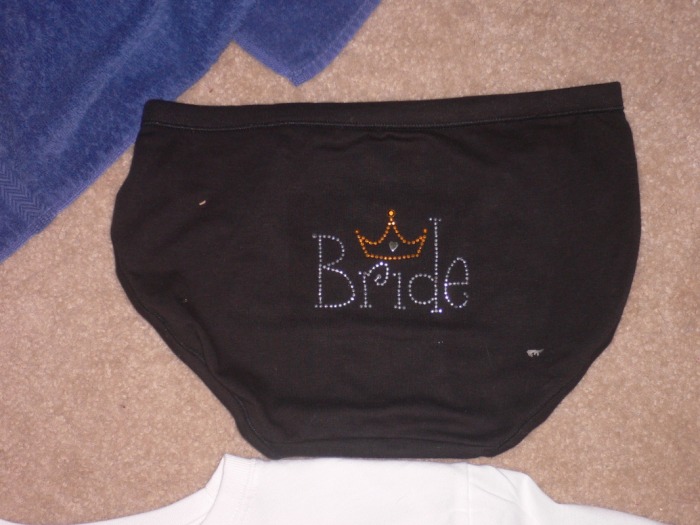
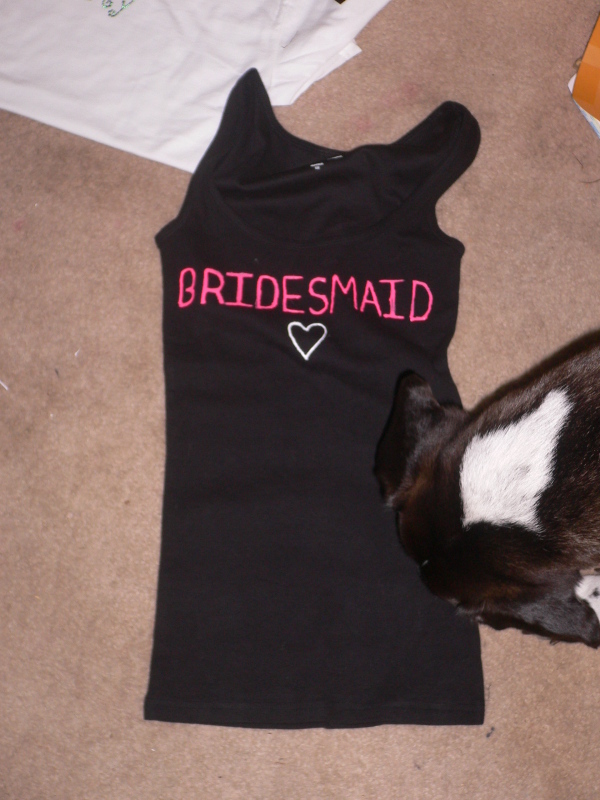
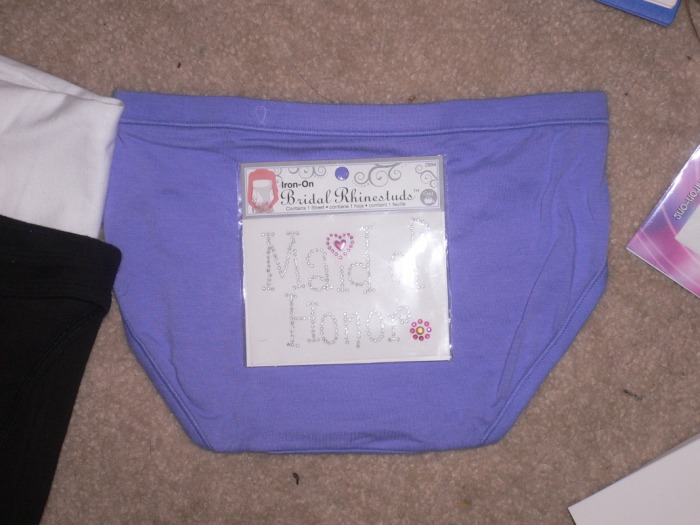
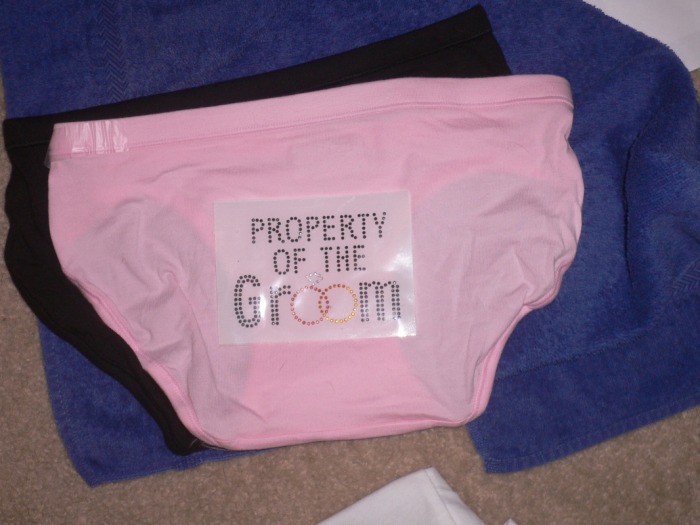
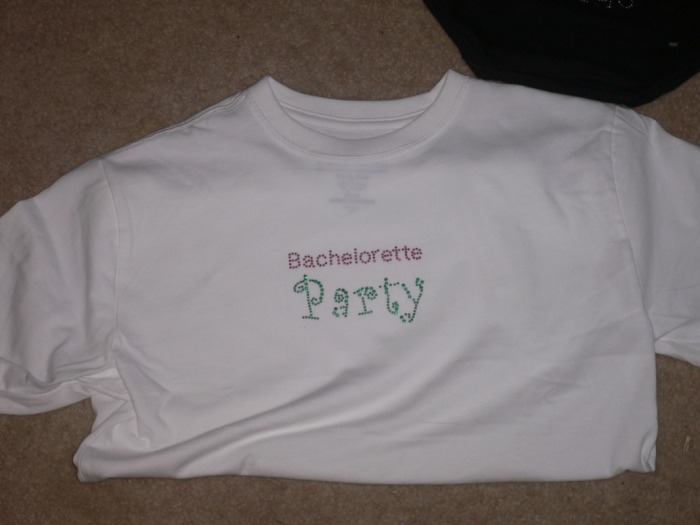
Getting Ready Outfits/Bachelorette Party Outfits!
The next pics are what I will be also wearing the day of while getting ready. I made the shirts with puffy fabric paint. The tanks were $4 each at walmart and I paid like $3 for the paint with a Michaels coupon. Each of the bridesmaids and my maid of honor will have one. I also maid Bride and Property of the Groom underpants. I bought a 4 pack of cotton haynes undies at Walmart for $5 and bought the iron ons for $1 each at Michaels!! SOO easy that I am making a pair for my sis/ maid of honor since I had an extra panty and she wears the same size. I want to do ones for my bridesmaids but I couldn't find an iron on so I will stay on the lookout.
The bachelorette party thsirts came from walmart also- $4 each and the iron ons are also from Michaels for $1 each. I will paint each persons role on the back (bride, maid of honor etc) and my sis bought cute buttons from Michael with a 50% coupon for everyone to wear saying they are part of the bridal party!

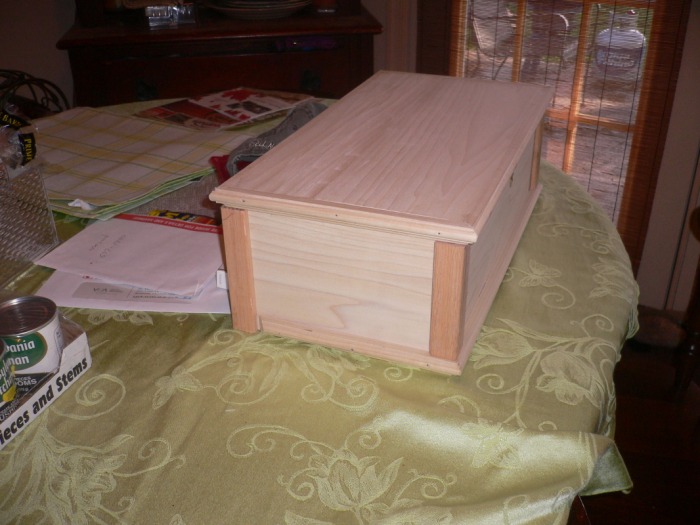
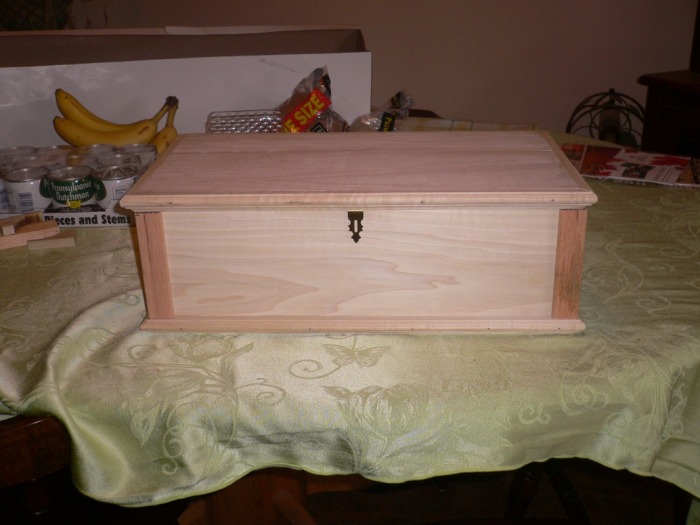
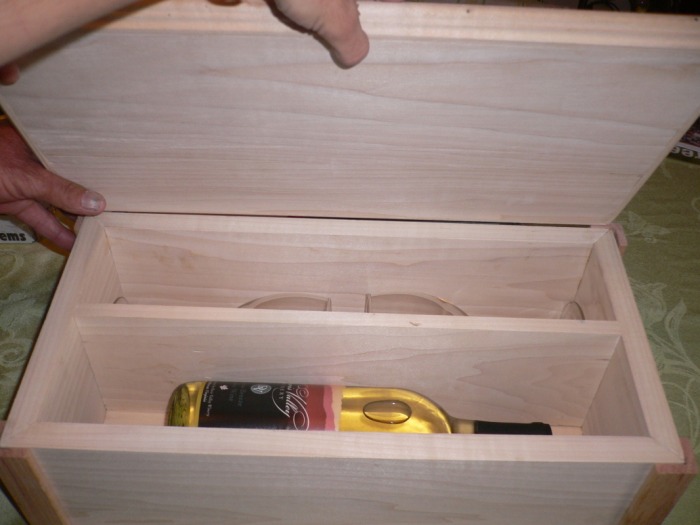
Wine Box